
Puppeteer is a scraping library made by Google that helps you control Chrome using JavaScript. It is one of the most effective tools for web scraping and automating.
Instead of performing tasks manually, Puppeteer allows you to handle the browser programmatically. In this Puppeteer tutorial, we will explain the basic concepts of Puppeteer, along with how to set it up in Windows, so even beginners can start building their own web scraper.
What is Puppeteer?
Puppeteer is an open-source Node.js library that provides APIs to control browsers based on Chromium or Chrome. It is developed and maintained by Google itself, allowing it to run a browser in both headless and headed modes.
Instead of making HTTPS requests, it loads the full page, executes JavaScript instructions, and allows scraping of the final loaded page.
What Is a Headless Browser?
A headless browser is a web browser that runs in the background and has no Graphical User Interface (GUI). It is controlled programmatically and takes far less memory than headed browsers. Chromium is one of the most famous browsers that provides a headless mode.
Note: Chromium is an open-source web browser provided by Google, and Chrome is a Chromium-based browser with many additional features.
How to Install Puppeteer
Before moving to the installation of Puppeteer, you should have:
- Node.js installed on your computer.
- Any code editor. I recommend using VS Code.
Installation of Node.js
If you don’t have Node.js installed:
- Go to the Node.js official website.
- Navigate to “Windows Installer (.msi).

- Install the file and open it. It will take you to the installer.

- Click Next and check the “I accept the terms” box.
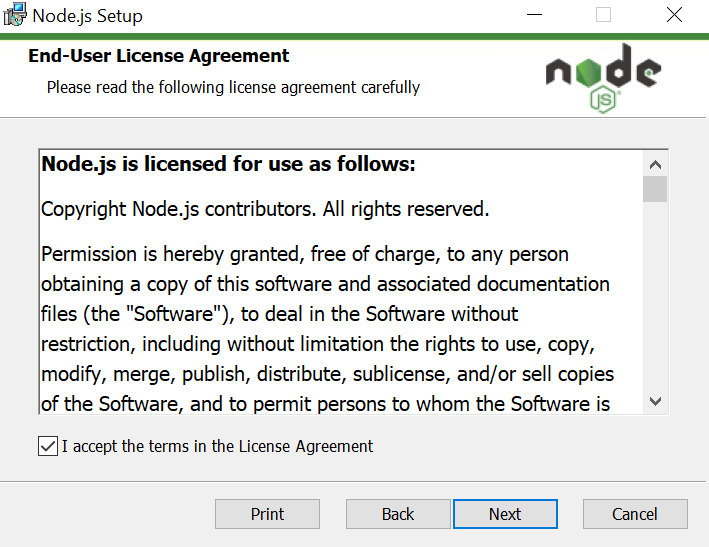
- Enter the path where you want to install the Node.
- Check the next box and click Next.
- Press install and wait for it to install.
- After installation is completed, click Finish.
Node.js is installed on your computer and ready to use.
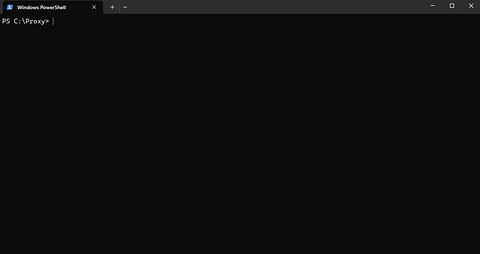
To make sure the node is installed and running smoothly,
- Open Terminal (press Windows + s, type Terminal, and press Enter).
- Run the following command:
node -vIt will check the currently installed version of Node. If you see a version number like v20.x.x, you are good to go. If not, then try following the installation steps again.

Creating a Node.js Project
Before writing any code, we will make a folder to store all the files.
- Navigate to where you want to make the folder and make a new folder.
- Name it. (We are calling it “Proxy”, but you can choose any name.)
- Press Shift and Right-click inside the folder and click “Open in terminal”.

The following window will appear:
Initializing the Project
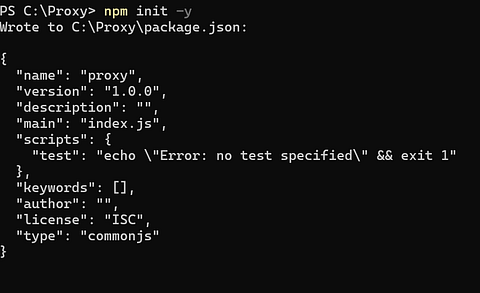
Type in theTerminal/Command Prompt:
npm init -yThis will create a file package.json (a file that stores project info)
Install Puppeteer
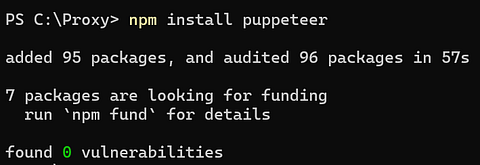
Type the following command in the terminal and press Enter:
npm install puppeteerThis installs Puppeteer and a special Chromium browser that it will control.
Now we will make a JavaScript file where we will type the main code.
- Open your code editor.
- Navigate to the folder where your project is.

- Create a new file and select “JavaScript” from the language options.

- Name the file “index.js” and save it.
Note: You can name the file whatever you want. index.js is just a placeholder
Getting Started with Puppeteer
In the index.js file, write the following code (this is just a placeholder for now):
const puppeteer  = require (“puppeteer”);
async function main() {
// add code here
}
main();This will import Puppeteer into our project. The rest of the lines are placeholders where an async is being called and executed.
We can simplify it more by:
const puppeteer  = require (“puppeteer”);
(async ()=> {
  //add code here
})();The full code is:
const puppeteer = require(‘puppeteer’);
(async () => {
const browser = await puppeteer.launch();
const page = await browser.newPage();
await page.setViewport({width: 1800, height: 1600});
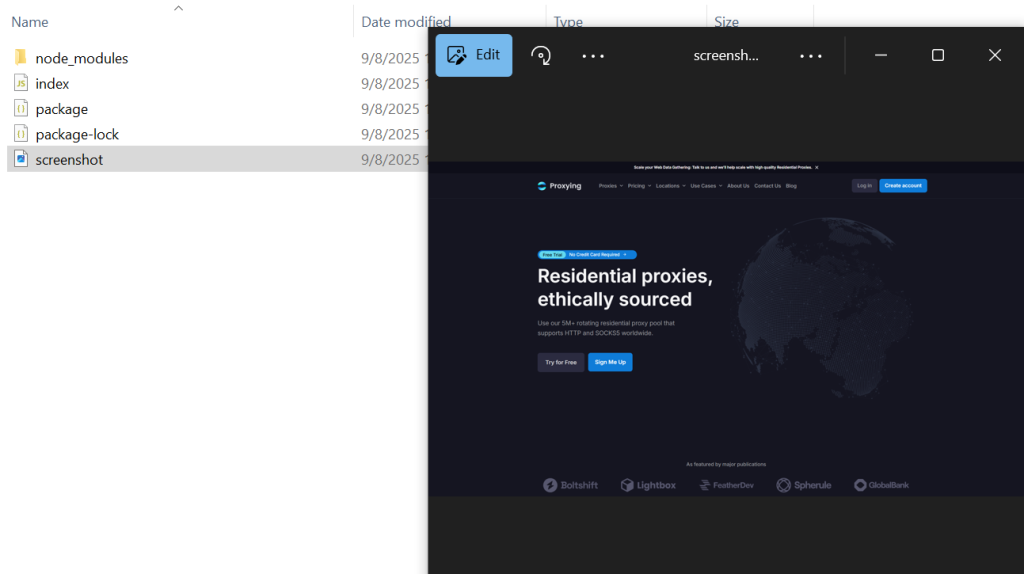
await page.goto(‘https://www.proxying.io/’);
await page.screenshot({path: ‘screenshot.png’});
await browser.close();
})();Let’s go over what each line does and what makes it important.
const browser = await puppeteer.launch();By default, this will open the browser in headless mode. To change that, we need to add an attribute to change it into headed mode.
const browser = await puppeteer.launch({headless : false});Note: While in headless mode, the user can’t see what is actually happening, and the tasks will be performed in the background. To see how Puppeteer works, we will change it into headed mode.
The next step is to open a new page.
const page = await browser.newPage();Now that the new tab is open, we can open any website using goto() function.
await page.goto(‘https://www.proxying.io/’);Note: This is just a placeholder for this Puppeteer guide. You can use any website you want.
Once the page is loaded, the DOM elements and the rendered page are available. This will be verified by taking a screenshot.
path : ‘D:/YourFolderNameThis will save the screenshot.png in the same folder as the project.
Note: You can give the path where you want to save the screenshot on your computer instead of just typing “screenshot.png.” For example, you could save it to a folder in your D: drive by using:
path : ‘D:/YourFolderNameBy default, Puppeteer saves screenshots in 800x600px dimensions. This can be changed by:
await page.setViewport({width: 1800, height: 1600});The following command closes the browser so Puppeteer can run again.
await browser.close();Note: The keyword “await” is used to make sure that the action is completed, as these actions may take some time. Without it, JavaScript will attempt to execute the next command immediately without waiting, which will cause the program to break.
Running the Code
Now, run the file from the terminal using this command:
node index.js
This will create a new file “screenshot.png” in the same folder as specified in the code. You can change the name of the screenshot as you want.
Note: You can also save the screenshot in other formats like JPG, JPEG, etc.
Extracting PDF From Puppeteer
If you need a PDF of the extracted data, you can use the pdf() function:
await page.pdf({path: 'Proxying.pdf', format: 'A4'});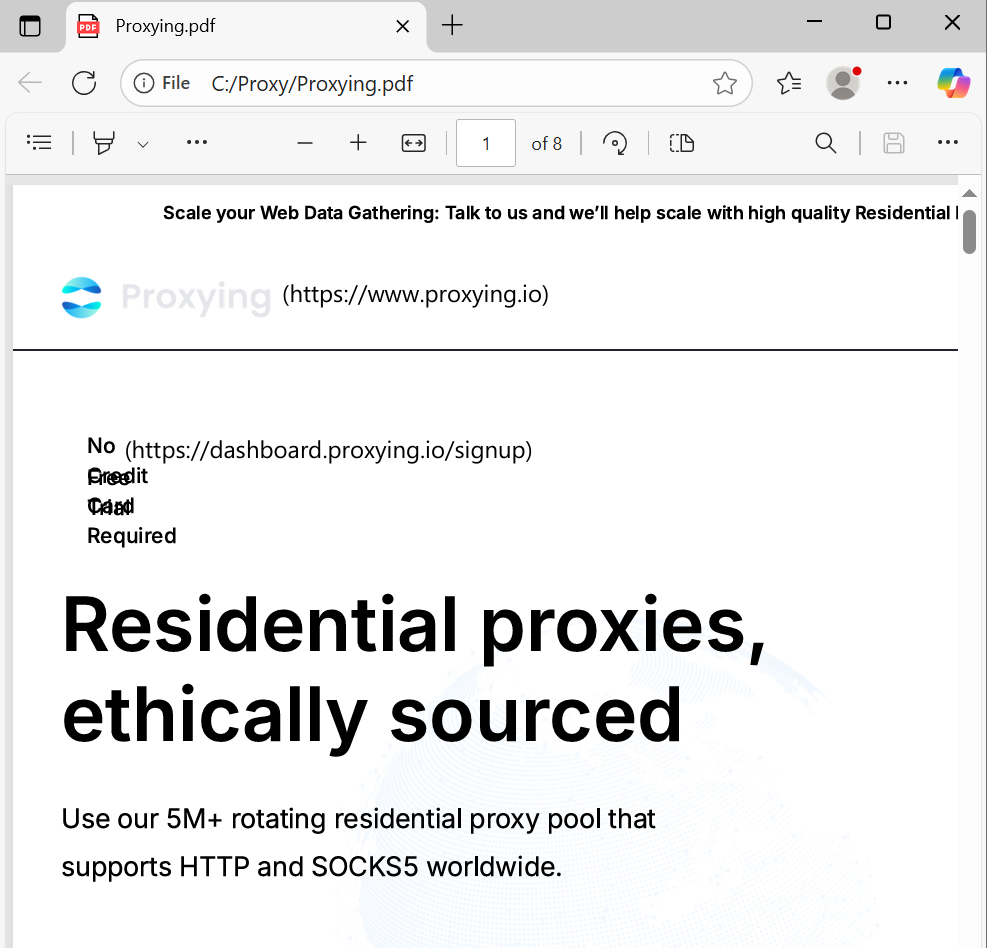
Extracting Data From Puppeteer
Web scraping is much more than taking a screenshot and generating a PDF; you also need to scrape structured data. Puppeteer allows you to execute scripts inside the page through “execute()”.
To understand this, we will extract the title of a Wikipedia page named “Web”.
https://en.wikipedia.org/wiki/Web
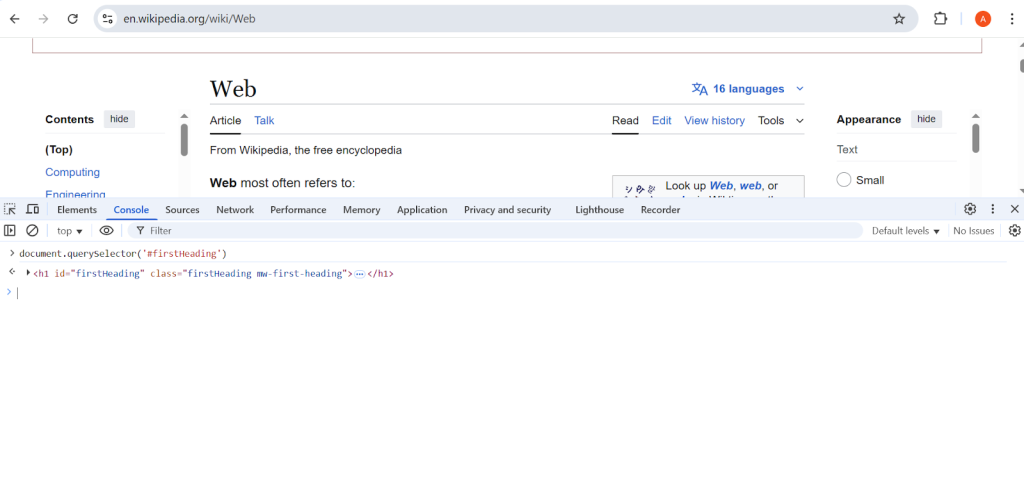
So once the page has loaded, right-click anywhere on the page and click Inspect.
Then, go to the Console tab in the Developer tools and type:
document.querySelector(‘#firstHeading’)You will see the following screen with our desired tag extracted
This returns the one specific element of the page. In this case, we only need the text of that element, so we will use:
document.querySelector(‘#firstHeading’).textContentNow, the text can be returned to the program by using the return keyword. Now we will use evaluate() to make sure that querySelector runs.
await page.evaluate(() => {
    return document.querySelector(‘#firstHeading’).textContent;
});Then, the returned value will be saved in a variable and displayed on the console. Don’t forget to close the browser to save resources. The full code will be:
const puppeteer = require('puppeteer');
(async () => {
const browser = await puppeteer.launch({ headless: false });
const page = await browser.newPage();
await page.goto('https://en.wikipedia.org/wiki/Web');
title = await page.evaluate(() => {
return document.querySelector("#firstHeading").textContent.trim();
});
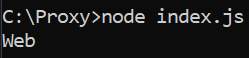
console.log(title);
await browser.close();
})();trim() removes the extra spaces from the beginning and end of the extracted text.
The output will be:
Extracting Multiple Elements
Now we will create a new JavaScript file by following the steps mentioned above and name it “wiki_pedia.js”.
Note: This is just a placeholder. You can name your file as you want.
Full code
Let’s go through the whole code line by line and understand what steps are required in extracting multiple elements with Puppeteer:
Using querySelectorAll to select all the elements matching the selector:
headings_element = document.querySelectorAll("div.mw-heading2 h2");Converting the NodeList into a real JavaScript array to use .map().
headings_arr = Array.from(headings_element);Loops through each heading and extracts the text, and then returns it using map().;
return headings_array.map(heading => heading.textContent);These steps are required to be wrapped in the evaluate() function. Here is the full code:
You can run this file on the terminal by using:
node wiki_pedia.jsThe output will be:
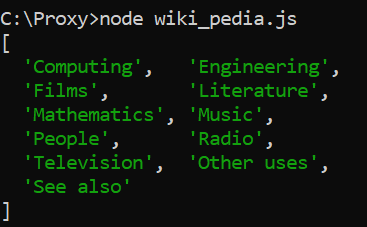
Note: The Array.from() function can accept a map function without realizing a call to map.
For simplicity, the same code can therefore be written like this:
headings = await page.evaluate(() => {
    return Array.from(document.querySelectorAll("div.mw-heading2 h2"),
    heading => heading.innerText.trim());
});Scraping with Proxies
Scraping a few pages typically doesn’t cause issues, but if you are scraping on a larger scale, websites will detect some unusual traffic and may block your IP address. Proxies help prevent this by directing your requests through multiple IP addresses, making them appear more human. They also let you bypass geo-restrictions, letting you scrape without interruptions
Why You Should Use a Proxy with Puppeteer
- To avoid IP bans.
- To access geo-restricted content with country-specific proxies
- Distributing requests across different IPs for scalability
Example
const browser = await puppeteer.launch({
    args: ['--proxy-server=us-pr.proxying.io:10000']
});- –proxy-server=… tells Puppeteer to send all requests through a proxy server.
- us-pr.proxying.io:10000: It is the proxy server and port.
await page.authenticate({
username: 'your_username',
password: 'your_password'
});If the proxy requires a username and password, you must provide them in code. Otherwise, the connection will fail.
So the whole code will be:
const puppeteer = require('puppeteer');
(async () => {
const browser = await puppeteer.launch({
    args: ['--proxy-server=us-pr.proxying.io:10000']
});
const page = await browser.newPage();
await page.authenticate({
    username: 'your_username',
    password: 'your_password'
});
await page.goto('https://httpbin.org/ip');
console.log(await page.content());
await browser.close();
})();By using Proxying.io’s residential and data center proxies, you can ensure smooth web scraping even on websites with strong anti-bot systems. Proxying supports multiple global locations, and offers affordable plans. If you are scraping a webpage or a whole website, Proxying helps you stay undetected.