

Jupyter Notebook is an open-source web application that lets you write, execute, and document code within a single interactive environment. Jupyter notebooks stand out from traditional code editors. They don’t just focus on programming. They combine executable code, formatted text, images, visualizations, tables, and math equations into one document. This makes it easier to experiment with code, explain your workflow, and share reproducible results.
Jupyter supports many programming languages via kernels. However, it’s most popular with Python. People use it for data analysis, machine learning, scientific computing, automation, and web scraping. It’s interactive and cell-based. You can run code step by step, see outputs right away, and change your workflow without running the whole script each time.
In this guide, you’ll learn what Jupyter Notebook is, how it works, how to install and use it, and common use cases.
What is a Jupyter Notebook?
It is an open-source, browser-based application that allows you to write, run, and document code in a single interactive environment. Instead of separating your source code, documentation, and output across multiple files, Jupyter brings everything together in one notebook. This approach makes it easier to experiment with code, explain your thought process, and revisit your work later.
Each notebook is saved as an .ipynb file and consists of individual cells. These cells can contain executable code, formatted Markdown text, images, charts, tables, equations, and other rich content. Since code is executed one cell at a time, you can test specific sections, inspect variables, and make changes without rerunning the entire program. This interactive workflow is one of the main reasons Jupyter Notebook has become a standard tool for data science and research.
Although Python is the language most people associate with Jupyter Notebook, the platform supports more than 40 programming languages through components called kernels. This flexibility allows developers to work with languages such as R, Julia, and Scala while using the same familiar notebook interface.
How Does Jupyter Notebook Work?
Jupyter Notebook follows a client-server architecture. The notebook interface runs in your web browser, while a separate process called the kernel executes your code in the background. Whether you run a cell, the notebook sends the code to the kernel, which processes it and returns the output directly beneath that cell. This separation allows you to interact with your code without leaving the notebook interface.
A notebook is organized into cells, each serving a different purpose. Code cells contain executable code, while Markdown cells are used for headings, notes, links, images, tables, and other formatted content. Keeping documentation with your code helps make notebooks clearer. This is especially useful for team projects or when making tutorials.
One of Jupyter Notebook’s biggest advantages is that it doesn’t require you to execute an entire script every time you make a change. You can run an individual cell independently, inspect variables, visualize data, or test a new function without affecting the rest of your notebook. This step-by-step execution speeds up development. It also makes debugging easier than traditional scripting workflows.
The kernel also maintains the current state of your notebook throughout the session. Variables, imported libraries, and generated objects remain available until you restart the kernel or clear its memory. While this makes experimentation more convenient, it’s considered good practice to restart the kernel and run all cells before sharing or exporting a notebook. Doing so ensures your notebook executes correctly from start to finish and produces reproducible results.
Key Features of Jupyter Notebook
Jupyter Notebook offers features that make it a top choice for Python developers, data scientists, and researchers. Its interactive design simplifies everything from writing code to presenting results.
Interactive Code Execution
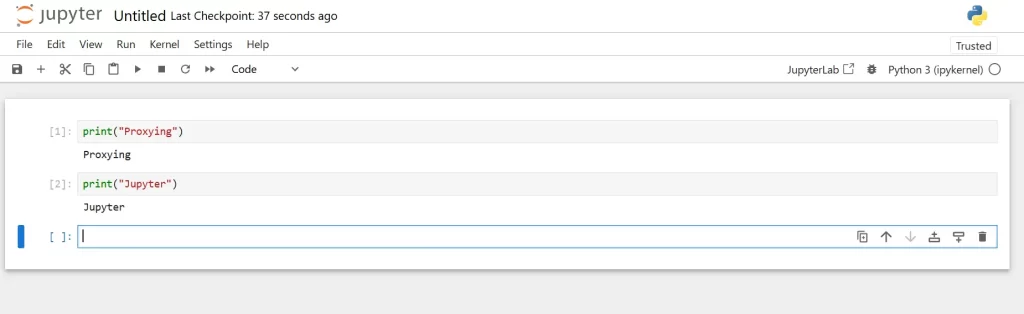
Unlike traditional code editors, Jupyter Notebook lets you execute code one cell at a time. This allows you to test functions, inspect variables, and experiment with different approaches without running an entire program. The immediate feedback shortens the development cycle and makes debugging much more efficient.
Rich Markdown Support
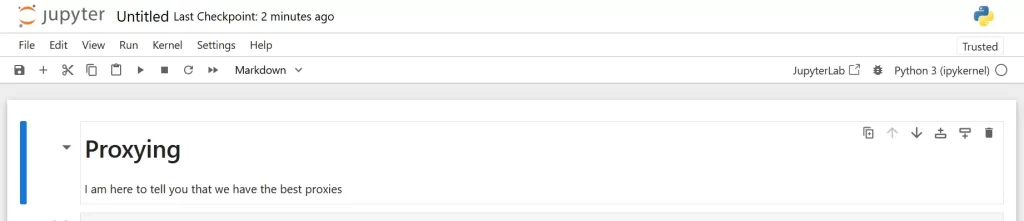
Jupyter Notebook isn’t limited to writing code. You can use Markdown cells to add headings, explanations, hyperlinks, images, tables, and mathematical equations alongside your code. Notebooks blend code and documentation. This mix makes them easier to understand. It also helps create complete reports, tutorials, and project docs.
Built-in Data Visualization
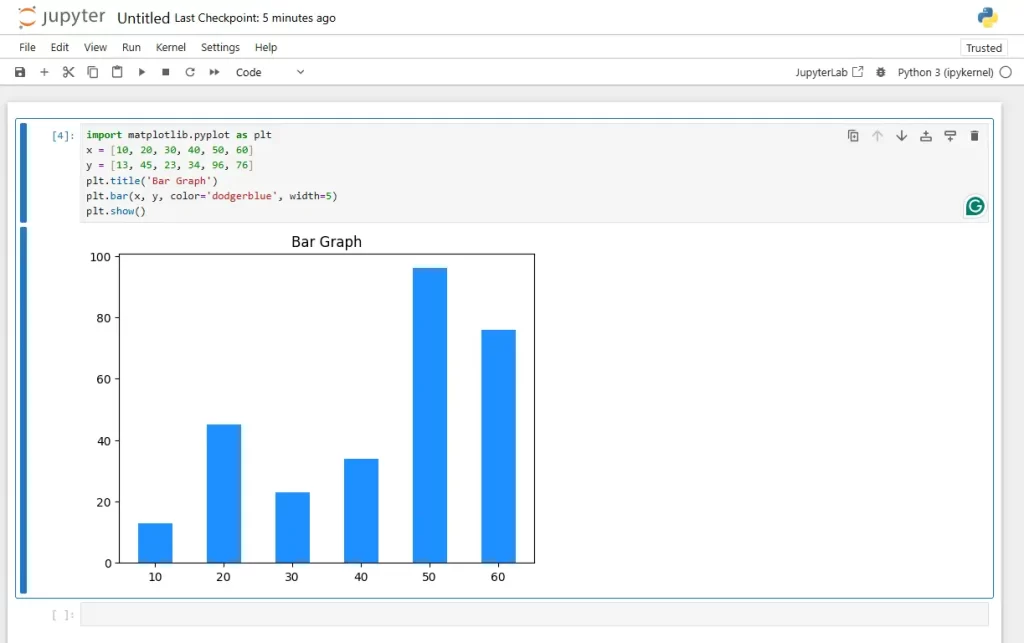
Charts and graphs are displayed inside the notebook. Making it easy to analyze data without switching to another application. Popular Python libraries like Matplotlib, Plotly, and Bokeh work well with Jupyter Notebook. This lets you create interactive visualizations while you build your project.
Multi-Language Support
Although Python is the most commonly used programming language, Jupyter Notebook supports dozens of languages through kernels. Developers can work with languages such as R, Julia, Scala, and Java while using the same notebook interface, making Jupyter a versatile tool for a wide range of technical workflows.
Extensive Library Integration
It works with most of Python’s popular libraries and frameworks. You can analyze data with Pandas. You can build machine learning models using Scikit-learn. You can automate tasks. You can also develop web scrapers with Requests, Beautiful Soup, or Selenium. These libraries work right in the notebook with no extra setup needed.
How to Install Jupyter Notebook
Before you can start creating notebooks, you will need to install Notebook on your system.
There are two common ways to do this: using pip, Python’s package manager, or by installing the Anaconda distribution, which comes bundled with Jupyter Notebook and many popular data science libraries.
Install Jupyter Notebook Using pip
IF you already have Python installed, installing Jupyter Notebook with pip is the quickest option. But if the case is otherwise, check this guide to install Python.
Open your terminal or CMD and run the following command:
pip install notebook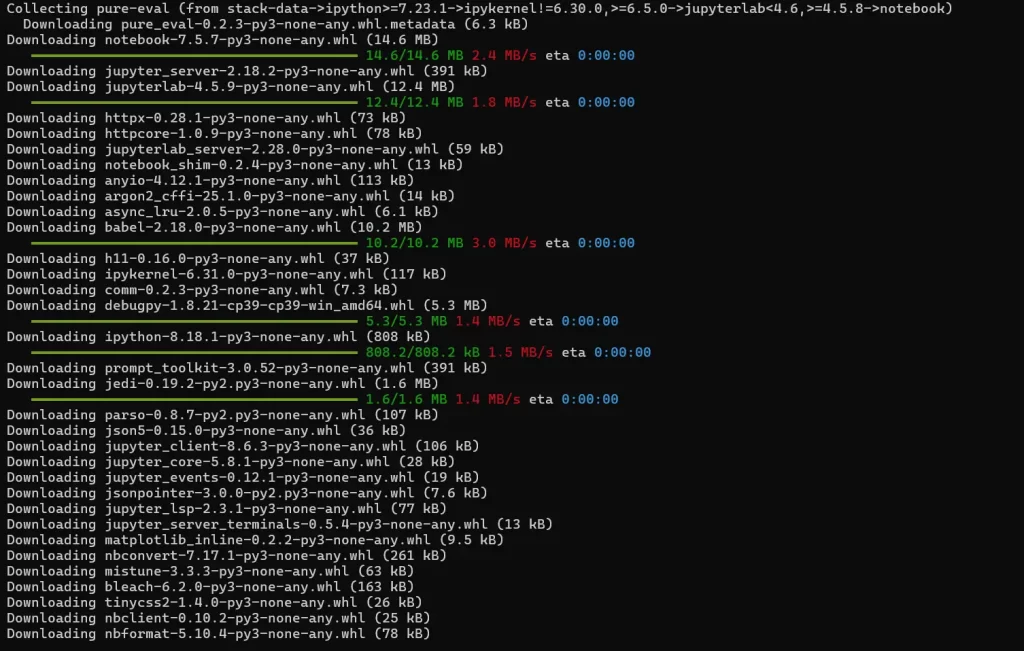
Once the installation is complete, launch Jupyter Notebook by running:
jupyter notebook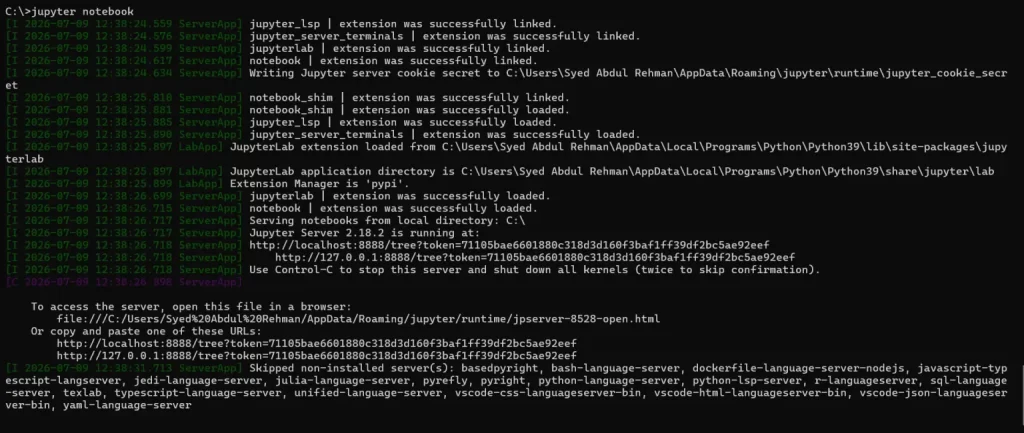
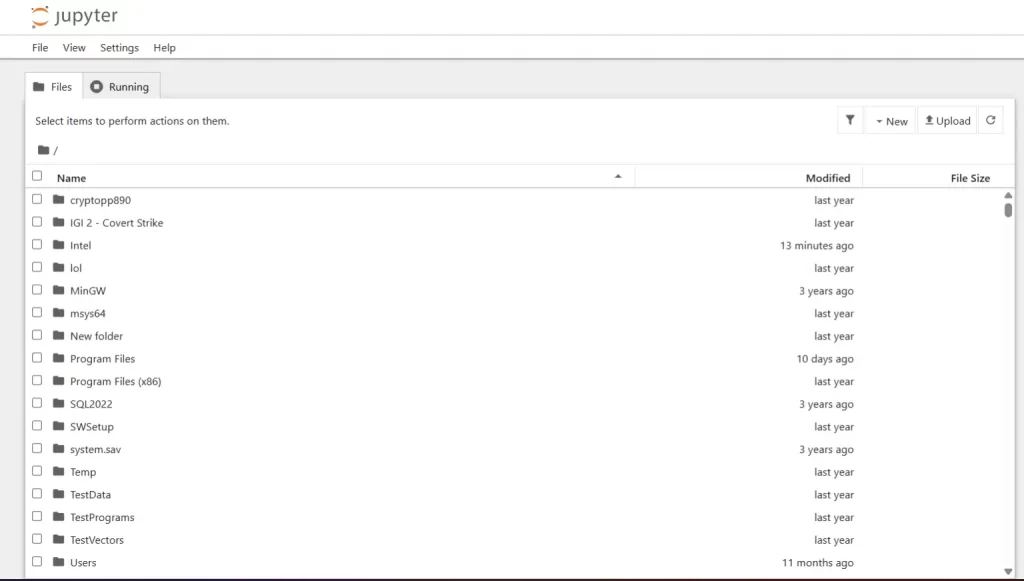
The command starts the Jupyter server and automatically opens the Notebook dashboard in your default web browser. From there, you can create a new notebook or browse existing .ipynb files and begin writing code.
Note: If the Jupyter command isn’t recognized, verify that Python and pip are installed correctly and that the Python scripts directory has been added to your system’s Path.
Install Jupyter Notebook with Anaconda
If you plan to work with data science, machine learning, or scientific computing, Anaconda offers a more comprehensive setup. It includes Jupyter Notebook along with widely used Python libraries such as NumPy, Pandas, Matplotlib, and Scikit-learn, so you don’t have to install them individually.
To get started, visit the official Anaconda website and download the installers for your operating system (Windows, macOS, or Linux). Run the installer, complete the setup, and launch Anaconda Navigator.

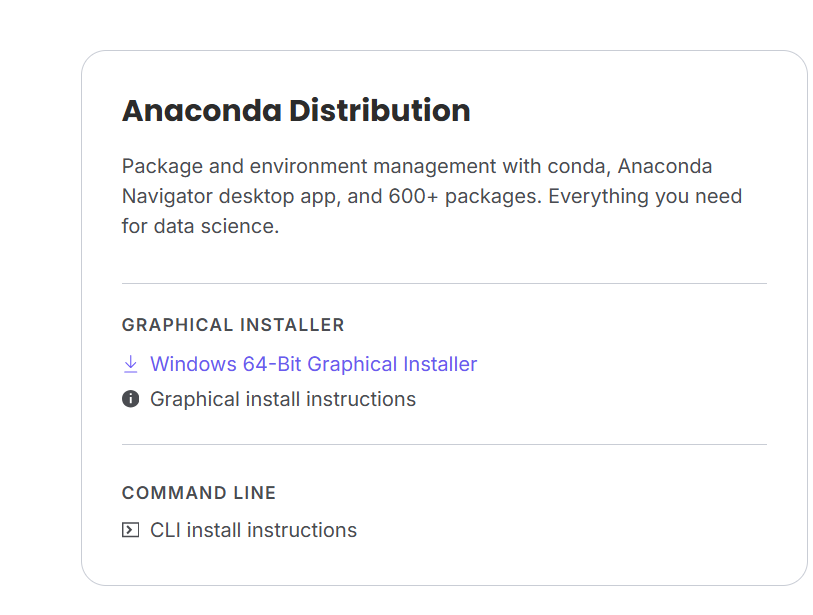
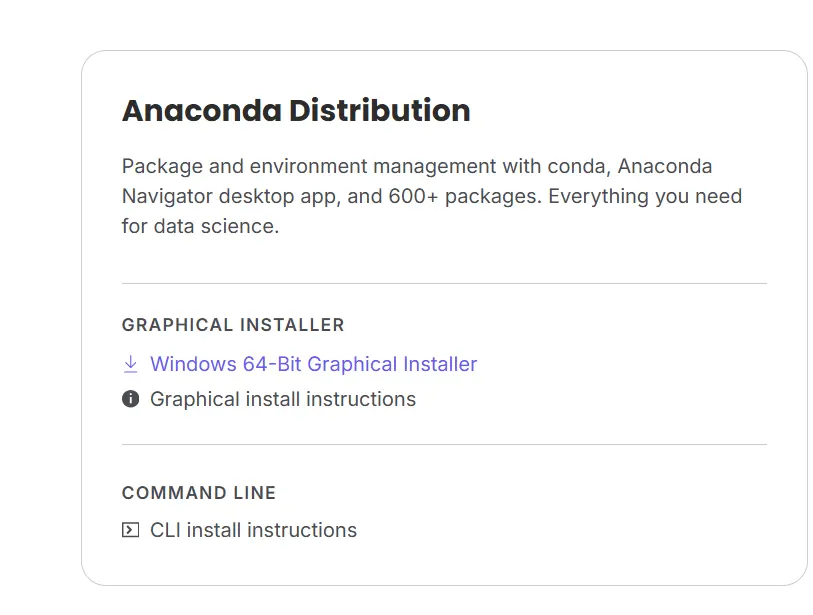
From Anaconda Navigator, click Launch under Jupyter Notebook.
Alternatively, you can open the Anaconda Prompt and start Notebook by running:
jupyter notebookThis command starts the Jupyter server and opens the Notebook dashboard in your default browser. From there, you can create new notebooks, open existing projects, and begin writing code.
Whether you install Jupyter Notebook with pip or Anaconda, the notebook interface and core functionality remain the same. If you only need Jupyter Notebook for general Python development, the pip installation is usually sufficient.
If your projects need data analysis, machine learning, or scientific computing, Anaconda is the better choice. It offers a complete environment with many popular libraries already installed.
Creating Your First Jupyter Notebook
After launching Jupyter Notebook, your default web browser will open the notebook dashboard. This dashboard displays the contents of your current working directory and lets you create, organize, and manage your notebook files.
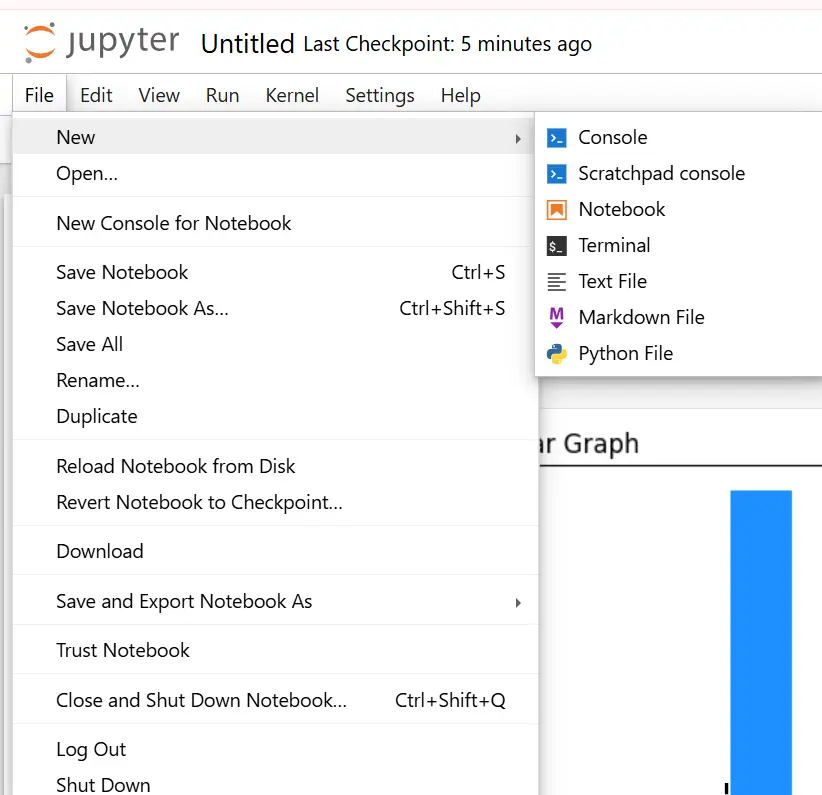
To create a new notebook, navigate to the folder where you want to save your project. Click File > New in the upper right corner and select Python (or another installed kernel).
Jupyter will open a new notebook containing an empty code cell, ready for you to start writing your Python code.
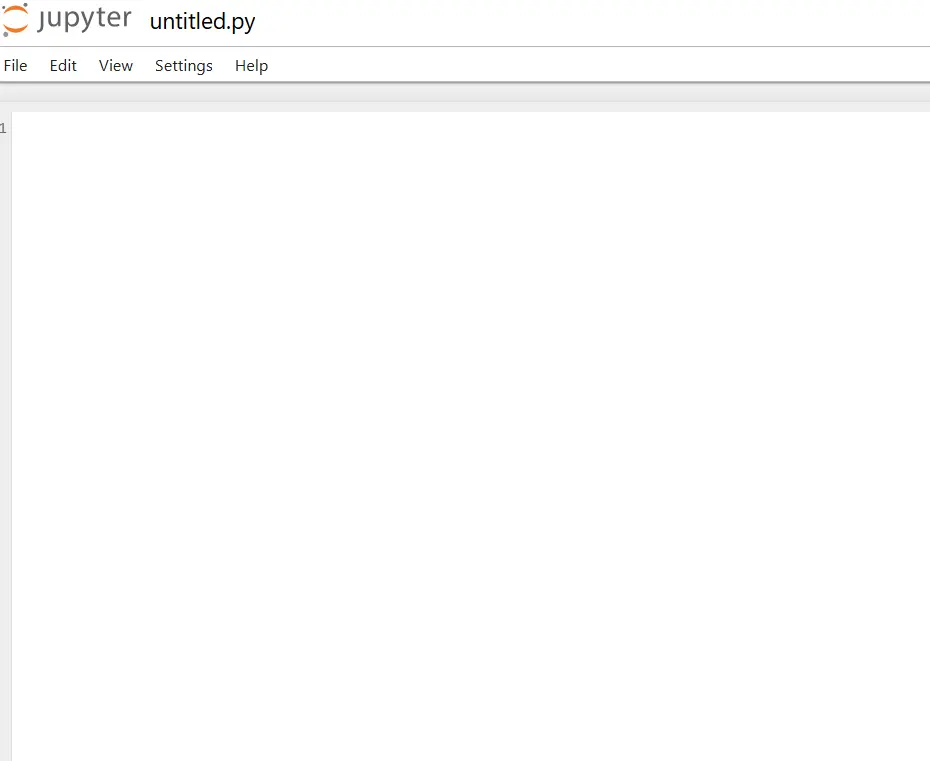
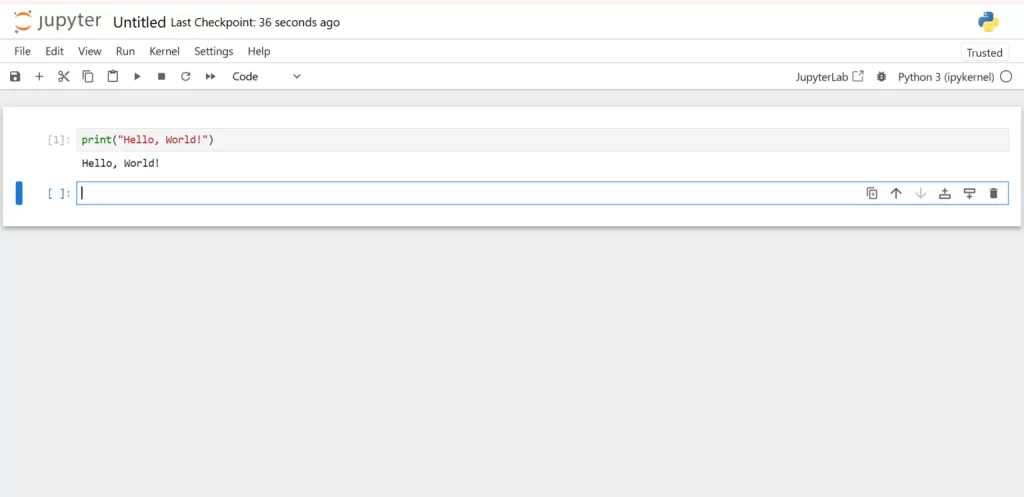
To verify that your installation is working correctly, enter the following code into the first cell:
print("Hello, World!")Press Shift + Enter to execute the cell. If everything is configured correctly, the output will appear directly below the code.
One of Jupyter Notebook’s biggest advantages is its keyboard shortcuts, which help speed up your workflow. For example, press A to insert a new cell above the selected cell, or B to add one below it. You can also delete a selected cell by pressing D twice while in command mode, and restore it immediately with Z if you remove it by mistake.
Using Markdown in Jupyter Notebook
Jupyter Notebook isn’t limited to writing and executing code. It also supports Markdown, a lightweight markup language that lets you add formatted text, headings, lists, links, images, tables, and code snippets to your notebooks. Combining code with documentation makes notebooks easier to read, understand, and share.
To create a Markdown cell, select an existing cell or insert a new one. Then, change the cell type from Code to Markdown using the toolbar, or press Esc followed by M while in command mode. After entering your content, press Shift + Enter to render the formatted text.
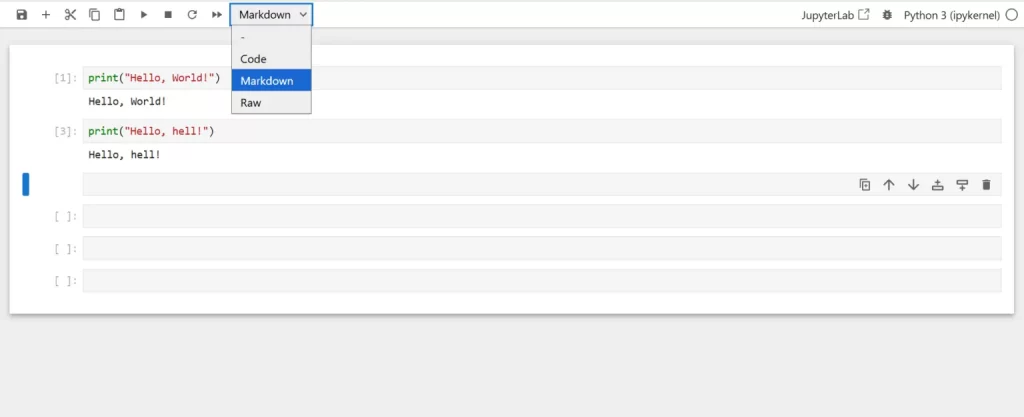
Here are some of the most commonly used Markdown elements:
| Element | Syntax |
| Heading | # Heading 1, ## Heading 2, ### Heading 3… |
| Bold text | **Bold** |
| Italic Text | *Italic* |
| Bullet List | – Item 1 |
| Numbered List | 1. First item |
| Link | [Proxying.io](https://proxying.io) |
| Image |  |
| Inline Code | ‘print(“hello”)’ |
| Code Block | Triple backticks (python … ) |
Markdown supports blockquotes, horizontal rules, task lists, and math with LaTeX. This makes it great for technical reports, research papers, and project documentation.
Headers
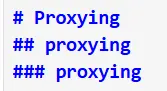
To create headers, before entering the test, use the hash (#) sign with a space after it. The number of hash signs determines the size and style of a header.
Lists
You can create bulleted lists by using a single asterisk (*), dashes (-) or plus signs. To create a sub-list, enter a double space before a bullet.

The output will be

For a numbered list, add 1. before every entry.

The output will be

Using Markdown consistently helps create well-organized notebooks that are easier to navigate, collaborate on, and share.
You can press Ctrl + Shift + P to open a list of available shortcuts in Jupyter Notebook.
Downloading the Notebook
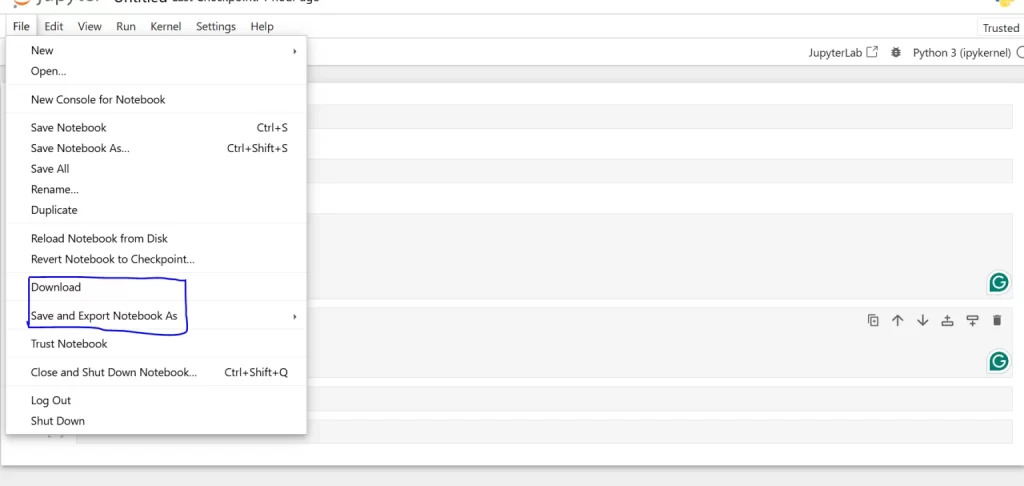
To download the notebook, click File in the menu bar, then select Save and Export Notebook As (Or Download as in some versions of Jupyter) and choose your preferred format.
Common export options include:
- Notepad(.ipynb)
- HTML (.html)
- PDF (.pdf)
- Markdown (.md)
- Python (.py)
Exporting with nbconvert
If you prefer using the CMD, Jupyter Notebook includes a built-in tool called ndconvert that lets you export notebooks into different file formats.
To export a notebook, open your terminal or CMD, navigate to the directory containing your notebook, and run one of the following commands
# Export to HTML
jupyter nbconvert --to html notebook.ipynb
# Export to PDF
jupyter nbconvert --to pdf notebook.ipynb
# Export to Python
jupyter nbconvert --to python notebook.ipynb
# Export to Markdown
jupyter nbconvert --to markdown notebook.ipynbReplace notebook.ipynb with the name of your notebook file. The converted file will be saved in the same directory unless you specify a different output location.
You can specify both the output file name and the output directory.
# Save with a different file name
jupyter nbconvert --to html notebook.ipynb --output report.html
# Save to a different directory
jupyter nbconvert --to html notebook.ipynb --output-dir exports
# Change both the file name and output directory
jupyter nbconvert --to html notebook.ipynb --output report.html --output-dir exportsThis command will generate the converted notebook in the specified directory instead of the current working directory.
Extensions
It supports a variety of extensions that add new features and improve productivity. A Python package called jupyter_contrib_nbextensions that contains a list of all new Jupyter Notebook extensions.
To install the retention package, run:
pip install jupyter_contrib_nbextensions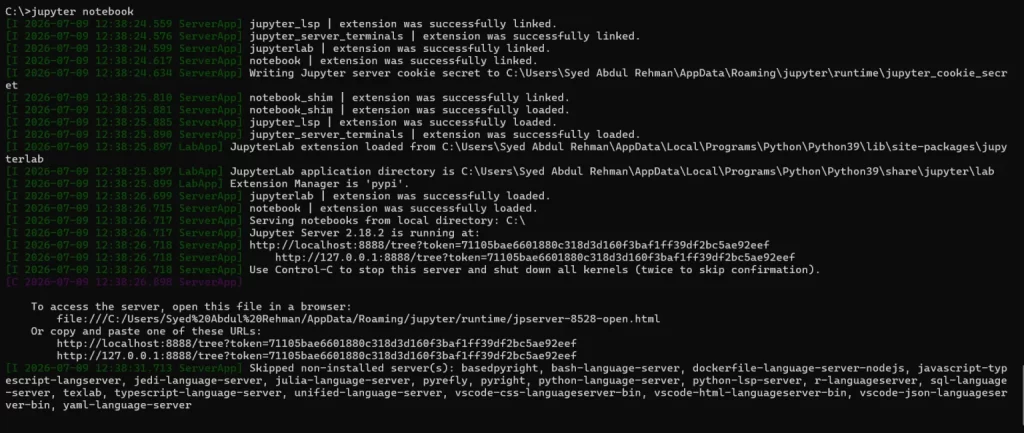
If you are interested in learning more about extension, check out their official websites and GitHub repository.
Jupyter Notebook and Web Scraping
Jupyter Notebook provides an interactive environment for developing and testing web scraping scripts. Instead of writing an entire scraper and executing it at once, you can build your workflow one step at a time. This makes it easier to inspect HTTP responses, test parsing logic, and verify the extracted data before moving on to the next stage.
A typical web scraping workflow in Jupyter Notebook begins with sending an HTTP request to retrieve a webpage. Once the HTML content is available, libraries such as Beautiful Soup or lxml can parse the document and extract the information you need. After the data has been collected, libraries like Pandas make it easy to organize the results into tables and export them to formats using NumPy, such as CSV or Excel, for further analysis.
One of the biggest advantages of using Jupyter Notebook for web scraping is its cell-based execution. You can run each step independently, inspect the output immediately, and adjust your code without restarting the entire program. This iterative workflow makes debugging much simpler, especially when working with unfamiliar website structures or refining CSS selectors and XPath expressions.
For small scraping projects and learning purposes, Jupyter Notebook is an excellent choice. Once your scraper has been thoroughly tested, you can move the code into a standalone Python script or a larger application for production use.
Is Jupyter Notebook Good for Beginners
Yes, Jupyter Notebook is one of the best development environments for beginners, particularly those learning Python. Its interactive design allows you to write and execute code one cell at a time. It makes it easier to understand how individual pieces of code work before combining them into larger programs. Instead of rerunning an entire script after every change, you can focus on a single section and see the results immediately.
Another advantage is that Jupyter Notebook combines code with documentation in the same file. You can use Markdown cells to explain your code, add notes, include images, and document your thought process as you learn.
You can test different approaches, inspect variables, and fix errors without affecting the rest of your project as each cell runs independently. This immediate feedback shortens the learning curve.
What is Jupyter Notebook not Suitable For?
Although Jupyter Notebook is a powerful tool for interactive development, it isn’t the best choice for every project. As projects became larger and more complex, developers often switched to dull-featured integrated development environments (IDEs) that offer better project organization, debugging tools, and version control support.
Collaboration can also be challenging. While notebook files are easy to share, multiple people can’t work on the same notebook simultaneously without using additional collaboration tools. Since notebooks store both code and outputs in a single .ipynb file, merging changes through version control systems like GIt is often less straightforward than working with standard Python scripts.
It is also less suitable for large-scale applications. As notebooks grow, managing hundreds of cells becomes difficult, and maintaining a clear project structure can also be challenging.
This same applies to web scraping. Notebook is excellent for experimenting with requests, testing parsers, and validating extracted data, but it isn’t designed for large-scale scraping operations.
Conclusion
Jupyter Notebook provides an interactive environment where you can write, execute, and document code within a single workspace. Its support for live code execution, Markdown, visualizations, and multiple programming languages makes it a valuable tool for learning Python, analyzing data, building machine learning models, and developing web scraping projects.